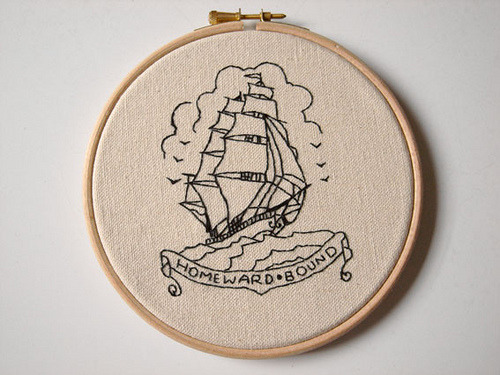
Over the past couple years, embroidery has become one of my favorite hobbies... ever!
It's so relaxing and so much fun! Plus the possibilities of things you can make with it are endless. I learned most of it from you tube videos and I was able to take some lessons from my Grandma :)
I wanted to share some basics on embroidery, so I will be doing a short series of basic embroidery techniques, stitches, etc... I decided to start with the two very basic stitches that are used in embroidery.
What you will need:
-Needle
-Scissors
-Embroidery floss
-Hoop
-Muslin (most of the time, normal cotton fabric works just fine)
Cut a couple feet of embroidery floss. You can separate the strands for more of a detailed look, or use all 6 strands for more of a bold look. Thread the needle. Leave one end shorter and one longer and tie a knot on the longer end.
Stitch #1
This is the stitch you will probably use the most.
Start going up through the back so that your knot will be hidden. Make a stitch a little bigger then a grain of rice.
Bring your needle back up directly in the middle of the stitch and repeat.
After a few stitches it should look like this...
And the back should look like this...
Stitch #2
For this stitch, start out with one small stitch, like the first one, but instead of coming up through the middle on the second stitch, you will want to come up a little above the first stitch (about 2 stitches in length away).
When you bring the needle back down you will go the opposite direction and bring the stitch back towards the first stitch. Like this...
After a few stitches it should look like this...
And the back...
That's it! Now that you know the basic stitches the fun part comes! Next embroidery post, I'll share some tricks on how to make really cool stuff in a super simple way.
Hope you have fun!
-Brenna


So cool! Now I know how to embroider something yay! :)
ReplyDelete